- You can create data for the CRI Atom library with CRI Atom Craft.
For details about the tool, refer to the CRI Atom Craft .
(1) Starting CRI Atom Craft
- First, double-click [CriAtomCraft.exe] to start the tool.
- Attention
- In order to use the tool, the license must first be activated with the "CRIWARE Authorization Tool (CriAuthorizationTool)".
When starting this tool for the first time, please follow the instructions, register your email address and activate the tool license.
For details, refer to the CRIWARE Authorization Manual.
Contents of the CRIWARE Authorization Tool Manual:
- //cri/tools/Authorization/manual/jpn/contents/index.html
(Tools: /cri/tools/ADX2/ver.3/ )
If you have authorized the license but the tool still does not start, please check its operating environment.
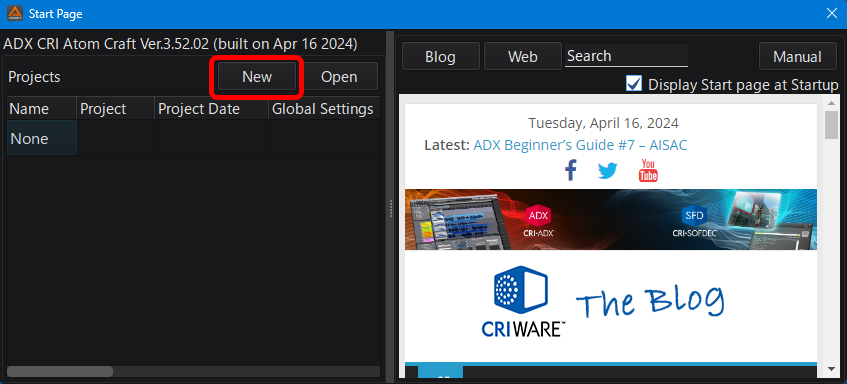
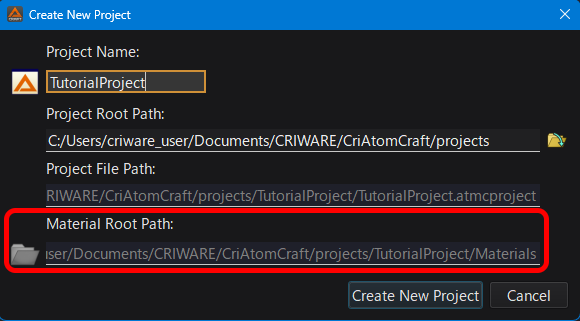
(2) Creating a new project
- Select the [New Project] command from the [File] menu.
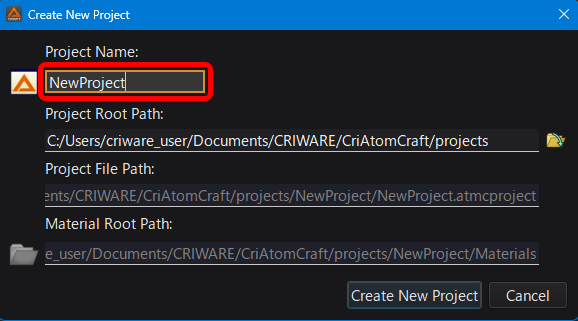
- Enter the project name.
Enter "TutorialProject" for the [Project Name] in the [New Project] dialog.
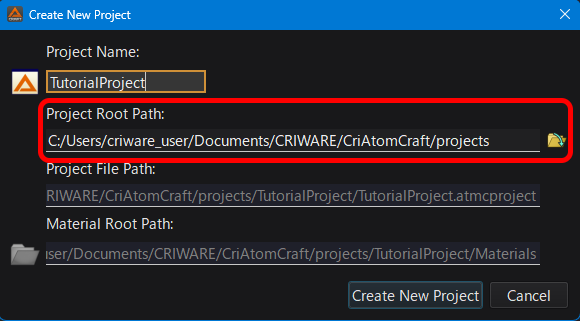
- Specify the project path.
My Documents is set by default for the [Project Root Path].
Append "/Tutorial" to the path.
- Specify the folder where to store the Material files.
By default, the Materials folder is located immediately under the project folder.
Keep it this way.
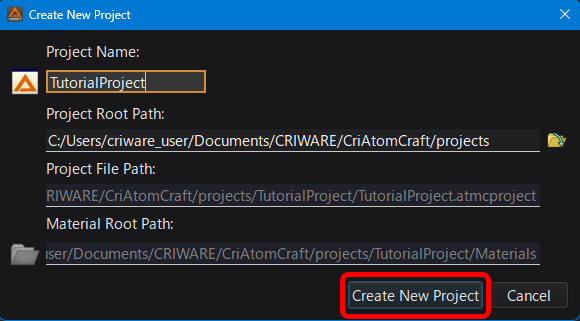
- Click the [New Project] button.
- If the to create a new folder dialog appears, please select "Yes".
A new project will then be created.
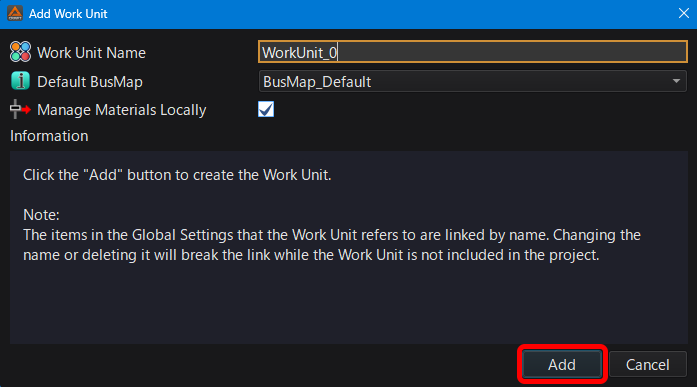
- When the [Add Work Unit] dialog is displayed, input the Work Unit name and press the [Add] button.
This will add a Work Unit to your new project.
By default, a dedicated Material folder is added to the Work Unit.
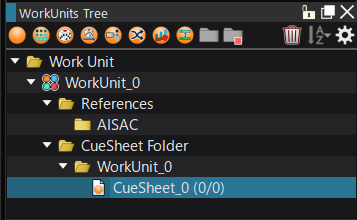
(3) Creating a Cue Sheet
- When creating a new project, a Cue Sheet with the name [CueSheet_0] is automatically added.
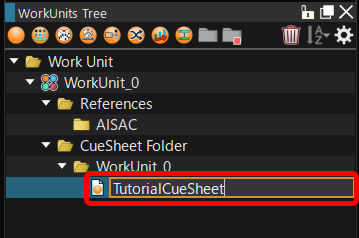
- Changing the Cue Sheet name
Select the [CueSheet_0] in the Project Tree, press the F2 key to edit the Cue name, and change it to [TutorialCueSheet].
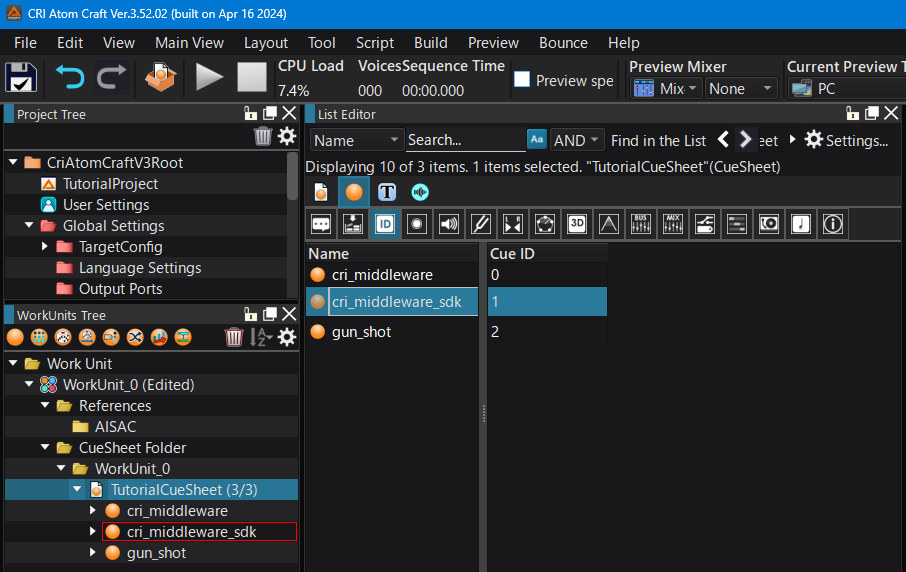
(4) Adding Cues
- Drag-and-drop the Material files onto the [TutorialCueSheet] in the Project Tree.
Use the material files located in the [C:/cri/tools/criatomex/tutorials/criatomcraft/TutorialProject/Materials] folder.
(Your drive's letter may be different.)
(5) Previewing
- Select a Cue in the Project Tree, and press the SPACE key to play it once.
You can also press the [F5] key and [F6] key to start and stop the playback respectively.
- Previewing a looping waveform
In the case of a looping waveform, the playback will continue until you press the [F6] key to stop it.
- Previewing from the List
Once a Cue Sheet is selected in the Project Tree, its Cues can also be previewed from the [Cue List] on the right side of the Tree.
It is especially useful when checking a large amount of Cues one after the other.
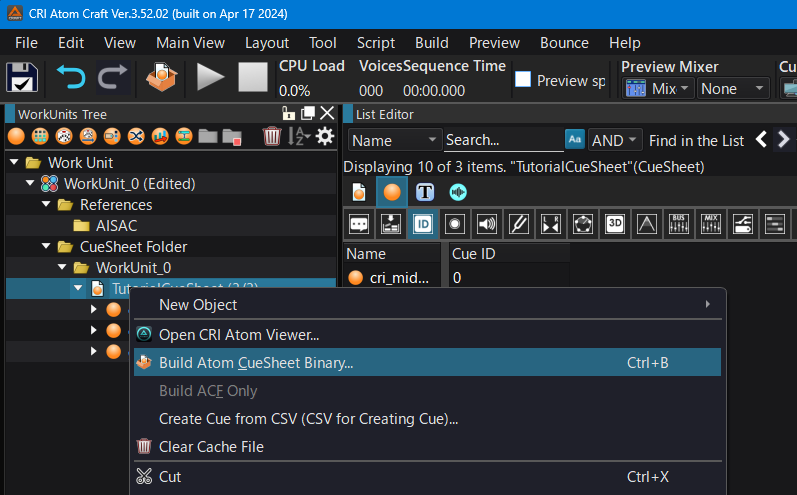
(6) Building a Cue Sheet Binary
- Select the Cue Sheet in the Project Tree.
Select the [Build Atom Cue Sheet Binary...] command from the context menu.
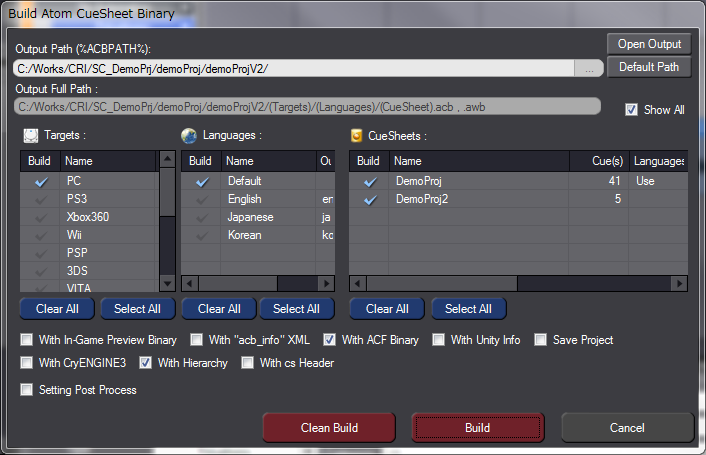
- In the [Build Atom Cue Sheet Binary] dialog, specify where to save the file.
Keep the other settings as they are.
Now, a Atom Cue Sheet Binary file is created.
A Cue Sheet header and configuration files are output at the same time than the Cue Sheet Binary.
Simply give these files to the programming team and you are done!
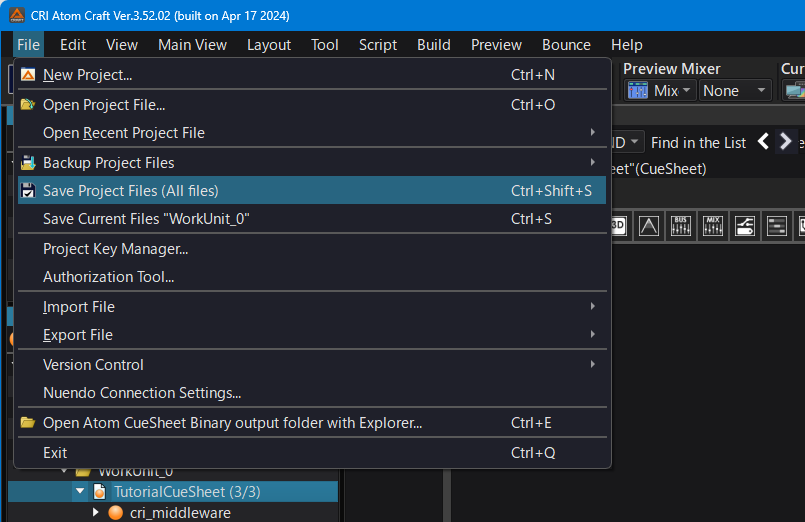
(7) Saving the Project File
- Saving the project allows you to stop your work and resume it later without having to edit the data again.
Select the [Save Project File (All files)] command from the [File] menu to save the project.