 |
CRI ADX
Last Updated: 2025-05-07 13:34 p
|
 |
CRI ADX
Last Updated: 2025-05-07 13:34 p
|
When you select a Cue on the tree, the Waveform is displayed on the [Time Line] on the right.

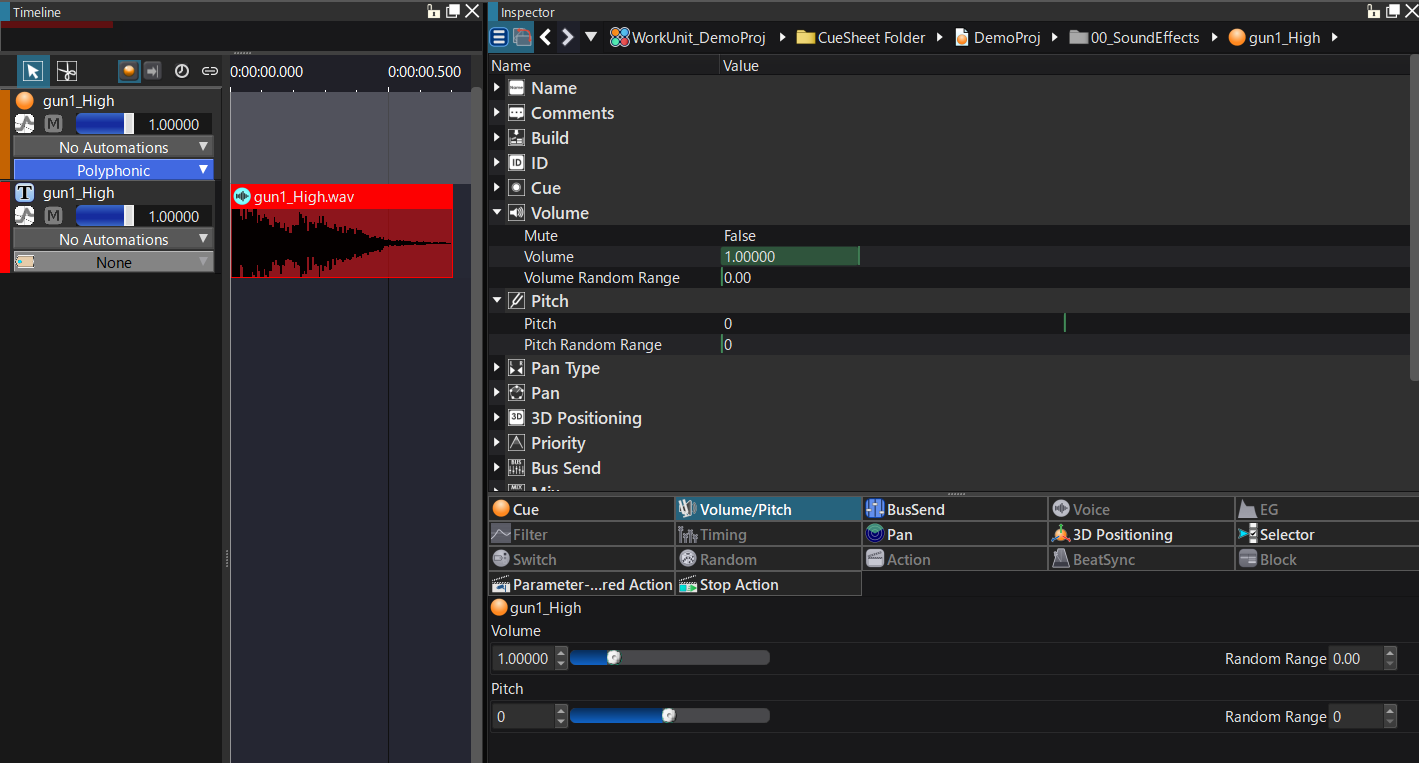
The [Timeline] provides the controls to change three types of volumes:

When the volume of a Cue is 0, the final output volume multiplied becomes 0, and no sound is output.
Even when the volume of the Cue is changed by other actions, it will remain silent.
You can enable the mute feature to stop playing sounds.
Also, in this case, the volume is 0 and the rendering of waveforms is still being performed internally.
The mute feature is similar to setting the volume to 0. The difference is that the mute feature remembers the previous status so that the original volume can be restored by unmuting.
The volume can have a value greater than 1.0 when editing it, but normally the sound may start cracking or being distorted.
For example, for the Category or the CueSheet, in the limited cases where the overall volume is lowered or where the volume of the source Waveform is low, the volume can be raised.
First, let's change the volume of a Cue. Drag the volume slider of the Cue to the left to decrease the volume.
You can change the volume both on the timeline and in the Volume/Pitch Inspector displayed under the timeline.

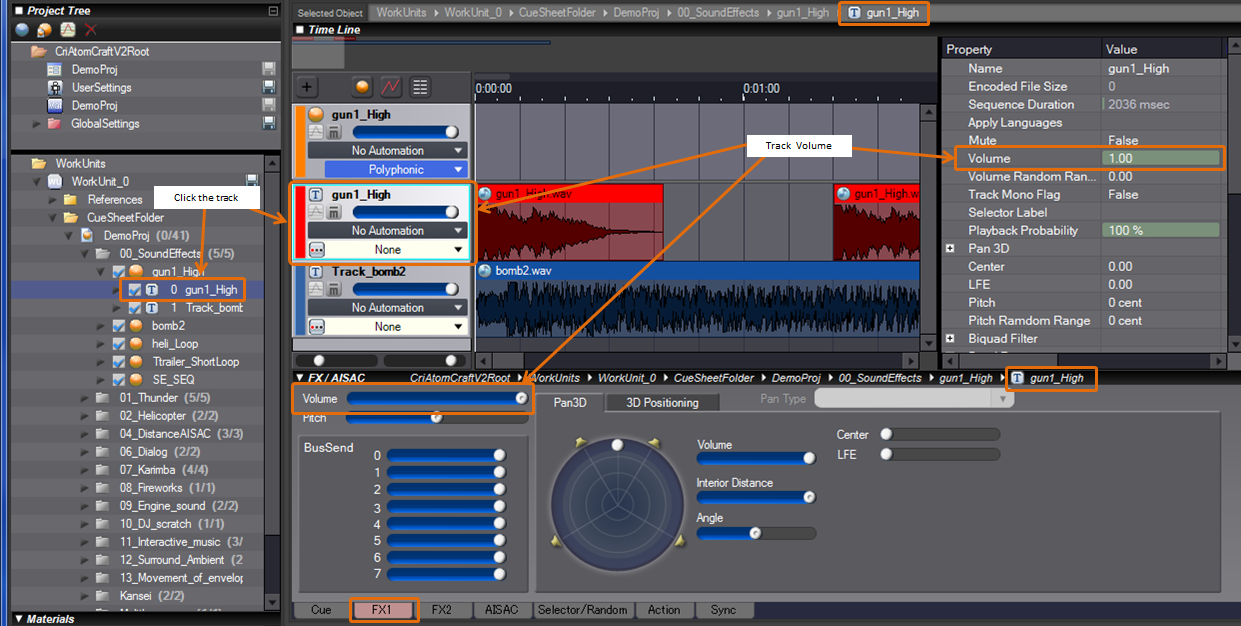
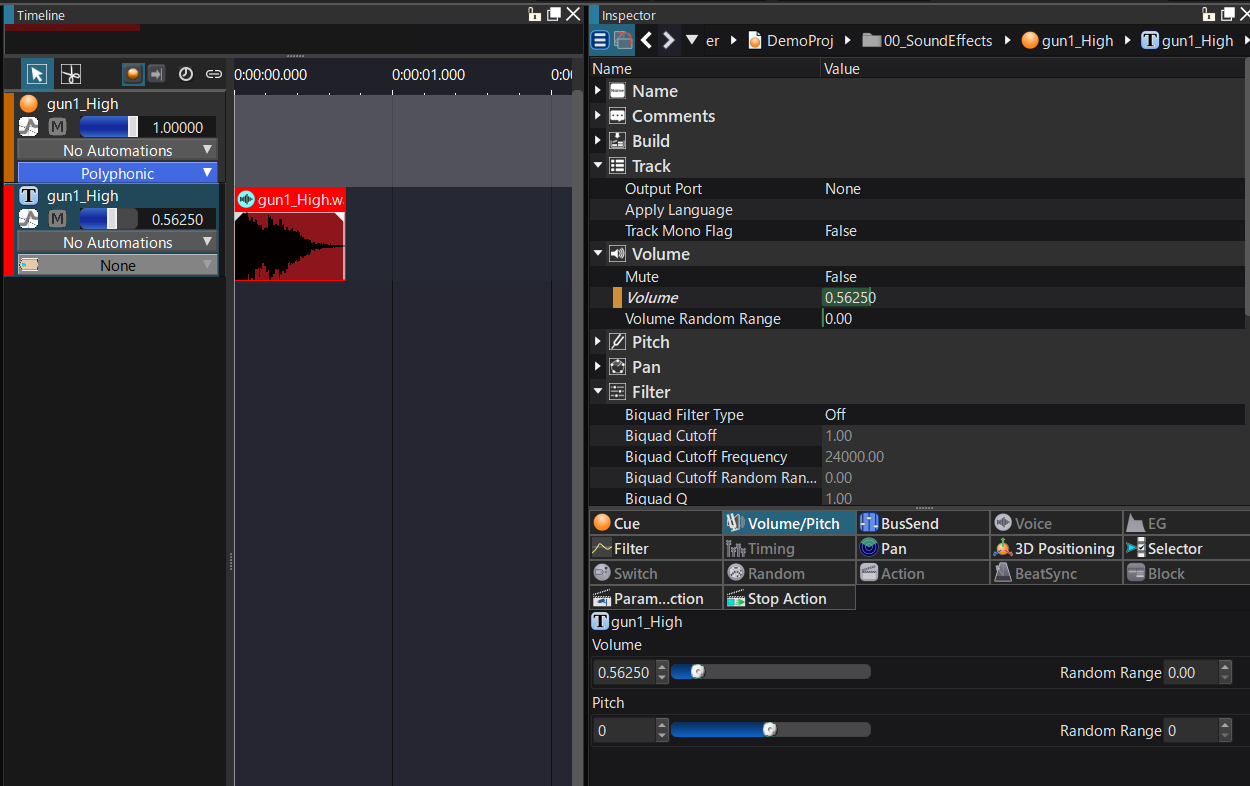
Now let's change the volume of the Track. Drag the volume slider of the Track to the left to lower the volume.
This volume change is combined with the Cue volume therefore the volume will be lowered even more.

Finally, let's change the volume of the Waveform Region.
After selecting the Waveform placed on the Track, use the volume slider to change the volume of the Waveform Region; (this is done in the [FX1] tab of the [FX/AISAC] panel as shown below).
Note that the Waveform Region must be selected and highlighted with a blue border.
Again, this volume is combined with previous Cue and Track volumes therefore the final volume will be even lower.
