4.Adding a Work Unit
Perform editing operations on the CRI Atom Craft project.
First, add a work unit to be edited.
(1) Create a new work unit
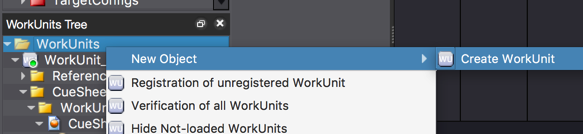
Right-click on the "Work Unit Folder" item in the project tree and select "Create Work Unit" from the right-click menu.
The [Add Work Unit] dialog is displayed. Make sure you are using the following setting.
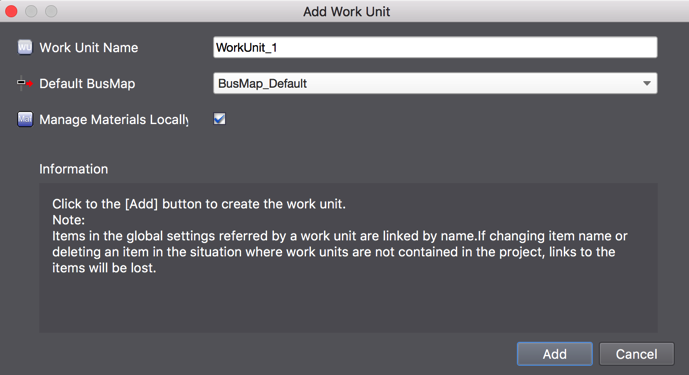
[Add Work Unit] dialog
- [Work Unit Name]: WorkUnit_1
- [Default BusMap]: BusMap_Default
- [Manage materials locally]: Checked
Click on the [Add] button to create the work unit "WorkUnit_1".
The newly created "WorkUnit_1" will automatically generate an "Add" command.
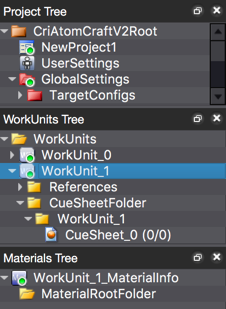
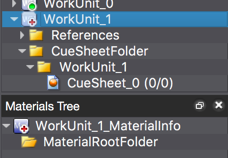 Project tree immediately after "WorkUnit_1" is created
(2) Submit the new work unit
First, save the changes so far before sending the addition.
Execute [Save Project (All Files)] from the [File] menu.
Open the version control browser from the [File] menu - [Version Control] - [Browser] and click on the [Submit All Changes] button. As the submit dialog is displayed, enter a comment and press the OK button.
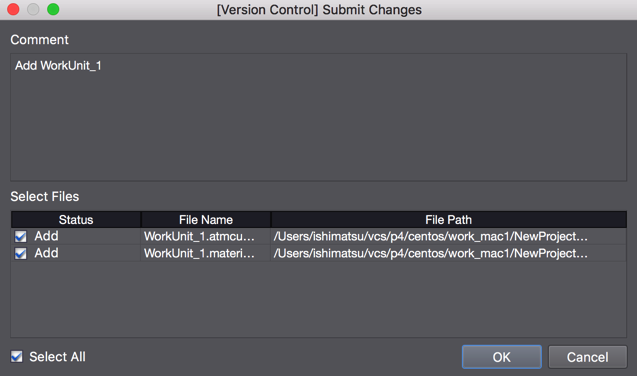
[Submit Changes] Dialog
The work unit [WorkUnit_1] is submitted to the repository and version control state is updated.
Project tree immediately after submit of "WorkUnit_1"