Perform editing operations on the CRI Atom Craft project.
First, add a work unit to be edited.
(1) Create a new work unit
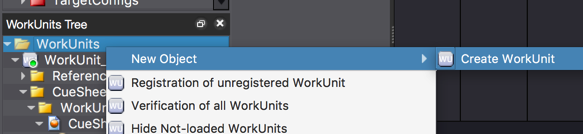
Right-click on the "Work Unit Folder" item in the project tree and select "Create Work Unit" from the right-click menu.
The [Add Work Unit] dialog is displayed. Make sure you are using the following setting.
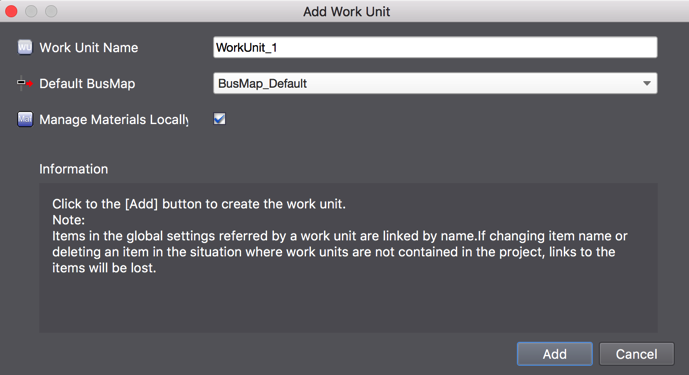
- [Work Unit Name]: WorkUnit_1
- [DefaultBusMap]: BusMap_Default
- [Individual management of materials]: Checked
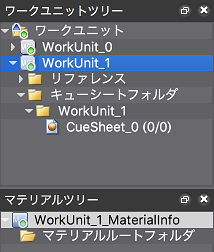
Click on the [Add] button to create the work unit "WorkUnit_1".
The newly created "WorkUnit_1" will automatically generate an "Add" command.
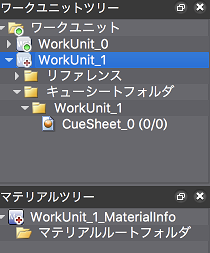 Project tree immediately after "WorkUnit_1" is created
(2) Commit the new work unit
First, save the changes so far before sending the addition.
Execute [Save Project (All Files)] from the [File] menu.
Display the version control browser and click on [Send All Changes].
The [Commit] dialog will appear. Enter the comment and click on the [OK] button.
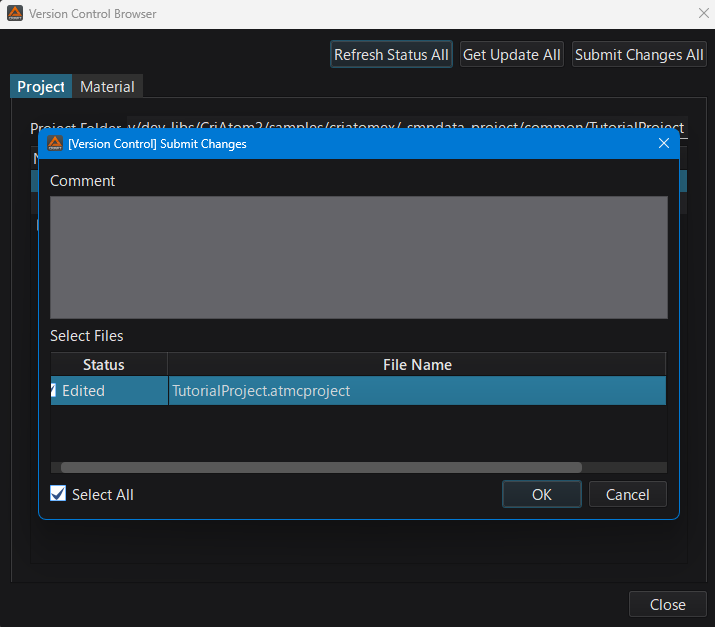
The work unit [WorkUnit_1] is committed to the repository and the version control state is updated.
Remarks:
Subversion also manages folder revisions.
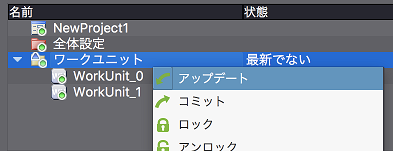
If you select "WorkUnit_1" for addition, the revision of the parent folder will be outdated.
Usually, you do not have to worry about it, but if want to update it, run Update from the right-click menu of the version control browser.