Next, edit the created work unit.
(1) Lock work unit
Prior to the editing, lock the work unit.
Once locked, you have exclusive rights to edit a work unit.
(Even if another worker edits the same work unit and wants to commit it, it will be rejected.)
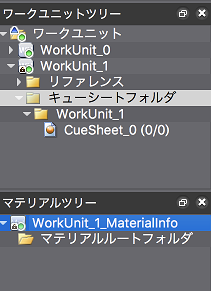
Right-click on the work unit [WorkUnit_1] and the material information file [WorkUnit_1_MaterialInfo], and select [Lock] from the [Version Control] submenu.

The "locked" icon is overlaid on locked files and folders.

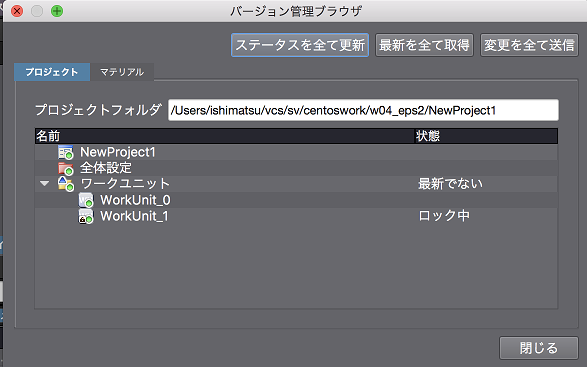
You can also check if a file is locked in the version control browser.

(2) Modify the CueSheet
Since it is locked, you can now start editing the work unit.
(2-1) Create a Cue
When creating the work unit [WorkUnit_1], the CueSheet [CueSheet_0] was automatically generated.
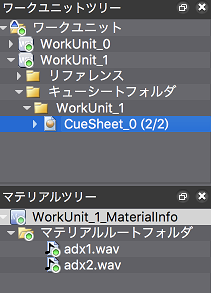
Drop a material file on this CueSheet to create a new Cue.
In our case, we create a Cue from the waveform files "adx1.wav" and "adx2.wav".
When we drop the waveform files onto the CueSheet, the materials status is automatically switched to "add" for the version control system.
(2-2) Save the Project
Save the work unit before submitting the modifications. Press [Cmd + S] (Windows: Ctrl + S) to save "WorkUnit_1".
(3) Commit changes
Open the version control browser from the [File] menu - [Version Control] - [Browser] and click on the [Send All Changes] button.
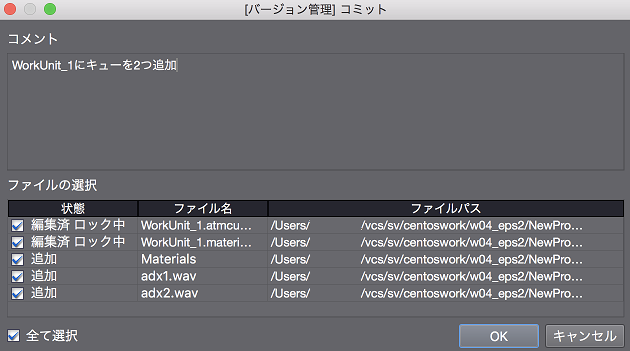
As the commit dialog is displayed, enter a comment and press the OK button.

Changes to the work unit [WorkUnit_1] are committed to the repository.
When a commit is performed, the files are automatically unlocked.

Remarks:
If these files were modified before committing them, there will be a conflict.
When editing files, it is recommended to first lock the target files so that access is exclusive and there cannot be any conflicts.