Create a new CRI Atom Craft project and add it to the repository. (Import)
(1) Create a new project
Create a new CRI Atom Craft project
(1-1) Start CRI Atom Craft
Select [CriAtomCraft.app] or [CriAtomCraft.exe], start CRI Atom Craft.
(1-2) Create a new project
Select [File] -> [Create a new project] .
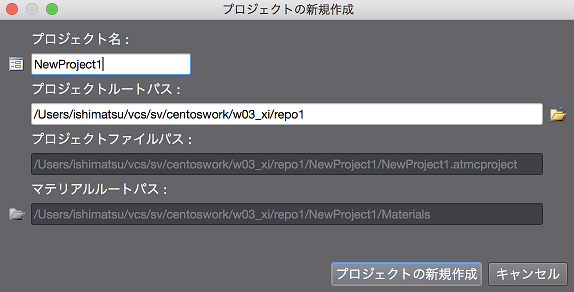
- Project Name
Here, we use the project name "NewProject1".
- Project Root Pass
Specify where you want the project to be saved.
Project files, work unit files, materials, etc. will all be saved under the folder specified here.
(1-3) Create a work unit
When you create a new project, the [Add Work Unit] dialog is displayed automatically.
Here, we create a work unit that will be the basis of our future editing work.
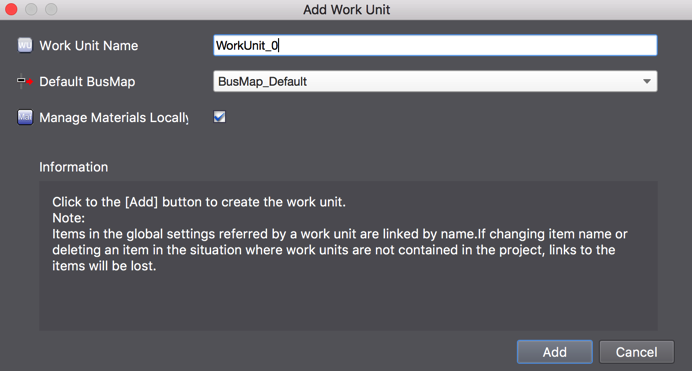
- Work Unit Name
Keep "WorkUnit_0" for the name.
- Default bus map
Keep "BusMap_Default".
- Individual management of materials
Keep this option checked.
When it is checked, the materials are managed a the work unit level.
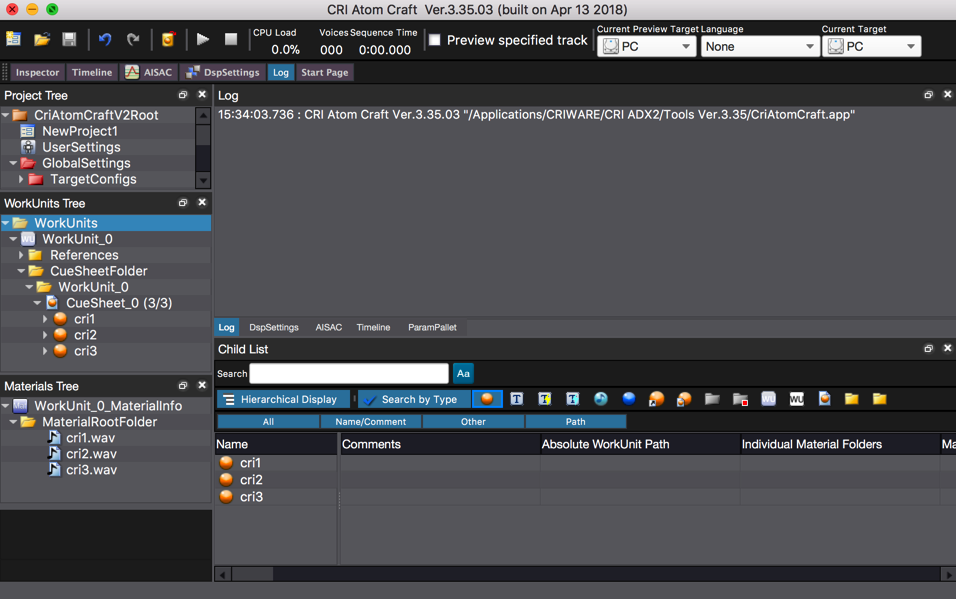
(1-4) Create a CueSheet, add a Cue
When you create a new project, the CueSheet [CueSheet_0] is automatically added for you.
Drop a material file on this CueSheet to add a Cue.
When you drop the material file, the Cue is automatically added to the CueSheet.
(1-5) Save the Project
Save the project and quit CRI Atom Craft once.
To save the project, select [Save Project (All Files)] from the [File] menu.
(2) Adding the project to the repository
Add the newly created project to the repository.
Remarks:
For details about the creation of a repository, please refer to Setting up the Subversion repository .
(2-1) Execution of the import command
At the terminal or command prompt, move to the CRI Atom Craft project folder and execute the following command.
- "-m" option
- Write a comment.
- "./"
- Specify the folder of the project.
- "svn://..."
- Specify the SVN server.
The CRI Atom Craft project is now added to the repository.
Remarks:
For Windows, you can also import from client tools such as TortoiseSVN.
Remarks:
The following files are also created under the project root folder, but you do not need to add them to the repository:
- User configuration files (.user_settings, .atmcuser)
- Cache files ("NewProject_Cache" folder)
- Output files ("PC" folder)
- Backup files ("NewProject_Backup" folder)