Since we got a project from the repository, set the version control tool for this project.
- (1) Open the CRI Atom Craft project
- (2) Select version control plugin
- (3) Perforce Plugin settings
- (4) Save the Project
- (5) Submit project changes
(1) Open the CRI Atom Craft project
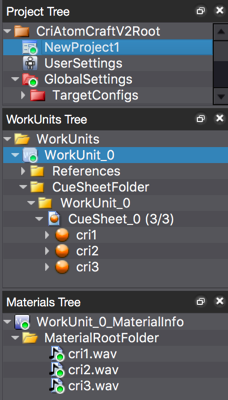
- Start CRI Atom Craft and open the checked out project file (NewProject.atmcproject) using "Open Project File" in the file menu.
(2) Select version control plugin
From the menu bar, select [Version Control] -> [Settings] from the [File] menu to display the [Version Control Tool Setting] dialog box used to specify the plugin.
Select [Perforce Plugin].

- Note
- The type of plugin you can select depends on the available source control plug-ins and the version of CRI Atom Craft.
(3) Perforce Plugin settings
When you click on the [Settings] button in the [Version Control Tool Setting] dialog box, the [Version Control Setting] dialog box is displayed.
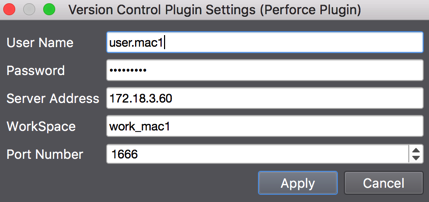
Perforce plugin configuration
| Item | Description |
|---|---|
| User Name | User Name to login Perforce |
| Password | Password corresponding to the user name |
| Server Address | URL of the repository of Perforce server |
| Port Number | Port number to connect |
| Workspace | Name of the workspace for editing this project |
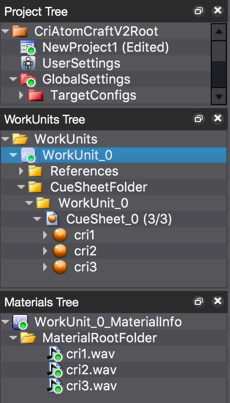
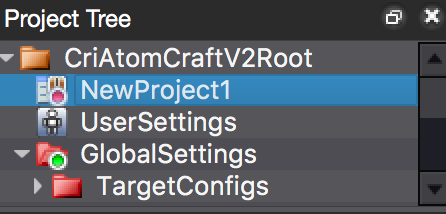
Once the version control tool settings are configured, the status icon is overlaid on objects in the project tree according to their status.
(4) Save the Project
Since the version control tool is now configured, save the project.
(This project now has information about its interfacing with Perforce.) Without running [Checkout], the files are marked as read-only. So right-click on the project icon and run [Checkout].
- Note
- Depending on the configuration of Perforce, the files may not be marked as read-only (thus not requiring to use [Checkout]).
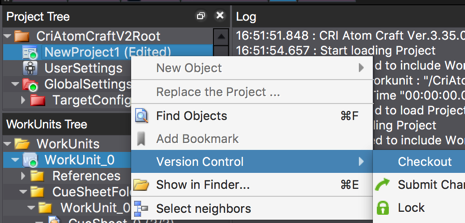 Checkout the project before saving
After running [Checkout] and saving the project file, the version control status icons in the project tree are updated.
(5) Submit project changes
Since the project file has been changed, submit this change.
To submit all the files that have changed, use the "Submit all changes" command in the version control browser.
First, open the version control browser and click on the "Submit all changes" button at the top right of window.
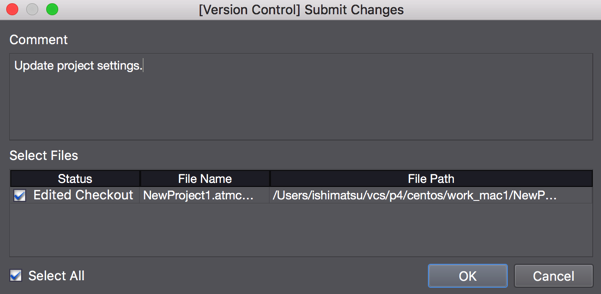
The [Submit Changes] dialog will be displayed, please enter some comments and click on the [OK] button.
As a result of submitting the changes, the repository and CRI Atom Craft are now synchronized.