|
CRIWARE Unity Plugin Manual
Last Updated: 2026-07-17
|
|
CRIWARE Unity Plugin Manual
Last Updated: 2026-07-17
|
|
|
|
|
|
|
|
|
|
|
|
|
|
|
|
|
|
|
|
|
|
|
|
|
|
|
|
|
|
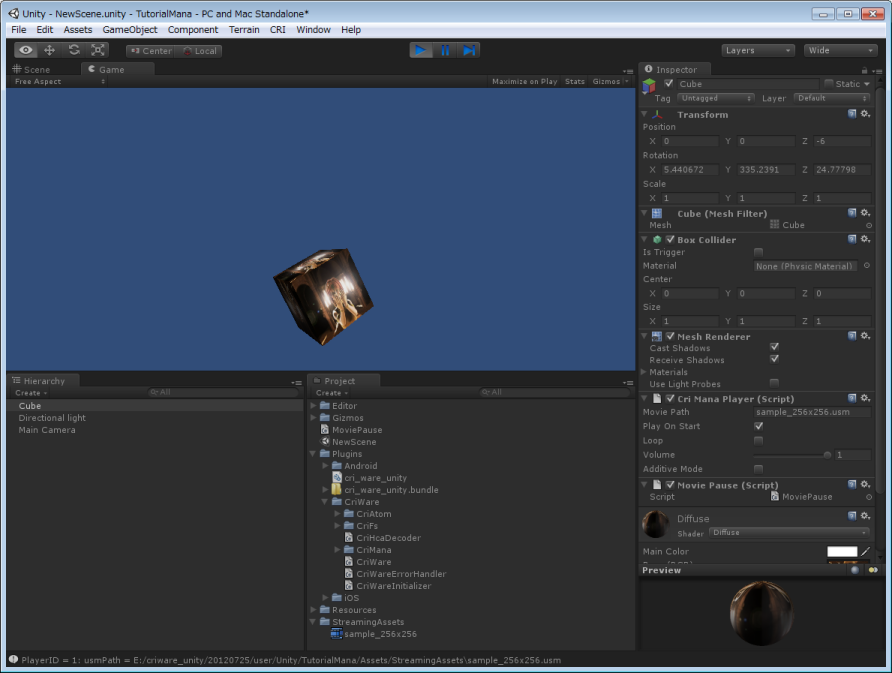
| CRI Sofdec sample |
|
|
|
|
|
|
|
|
|
|
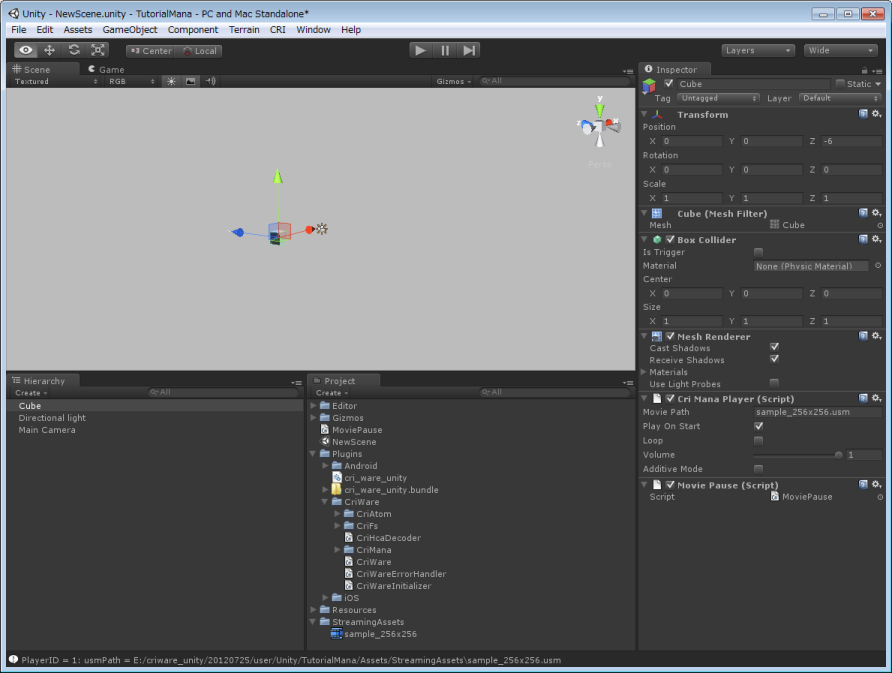
| Movie file |
|
|
|
|
|
|
|
|
|
| Assets folder |
|
|
|
|
|
|
|
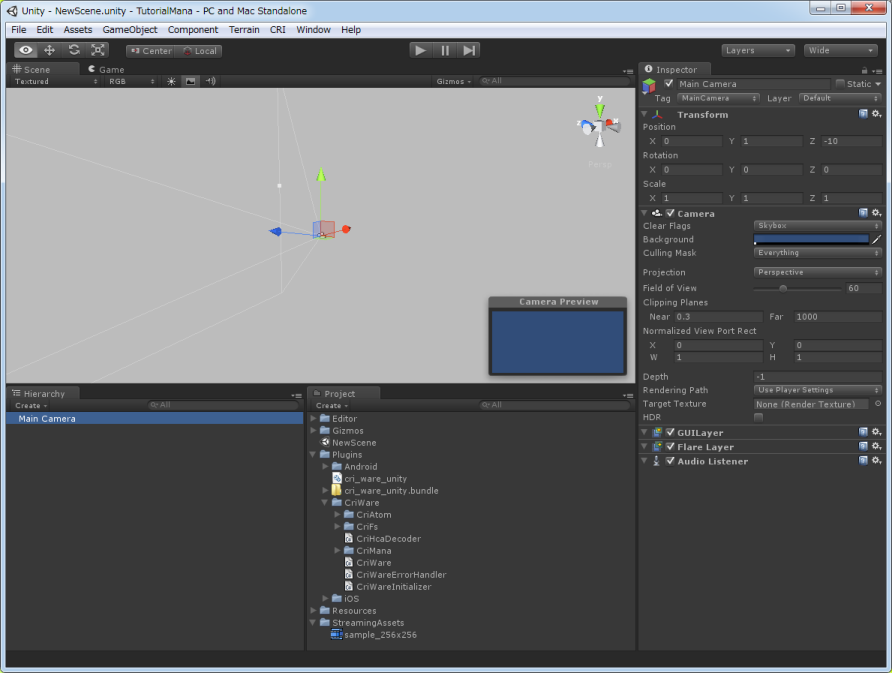
| CRIWARE Unity Plugins |
|
| Shader resources for CRI Mana |
|
| StreamingAssets folder |
|
| USM file |
|
|
|