CRI ADX(Unreal Engine) v1
初級編12 シーケンサーでのサウンド再生
CRI Atom Craftで作成したキューを、シーケンサーを使って再生する方法について説明します。
シーケンサーそのものに関しては「Unreal Engine 公式ドキュメント」をご参照ください。
シーケンサーにトラックを追加
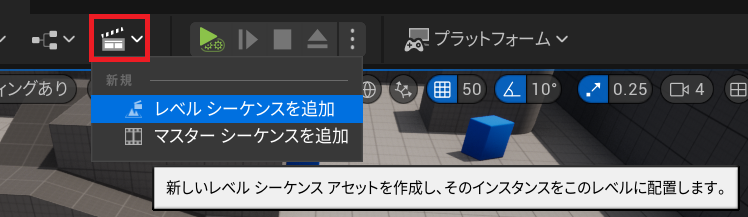
シネマティクスのメニューを開いて「レベル シーケンスを追加(Add Level Sequence)」を選択します。
「名前を付けて保存ウィンドウ」が表示されるので任意の名前で保存してください。
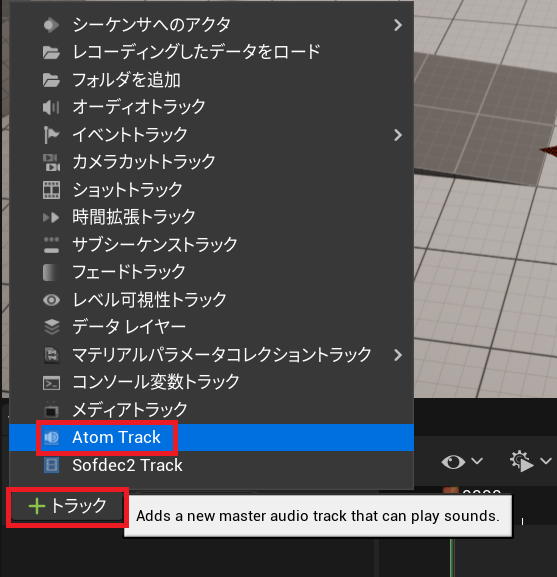
シーケンサーウィンドウが表示されるのでTrackのメニューを開いて「Atom Track」を選択します。
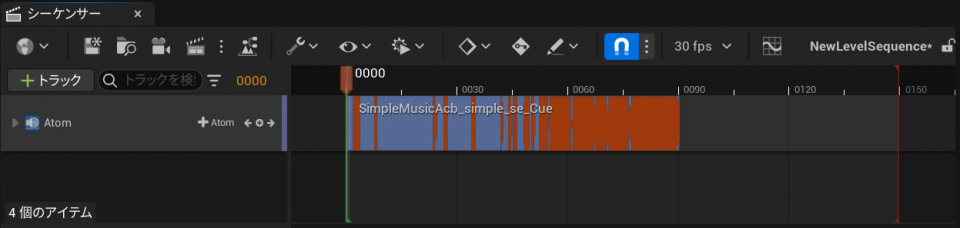
Atomトラックが追加されるので「+Atom」ボタンを押してSimpleMusic_simple_se_Cueを選択します。
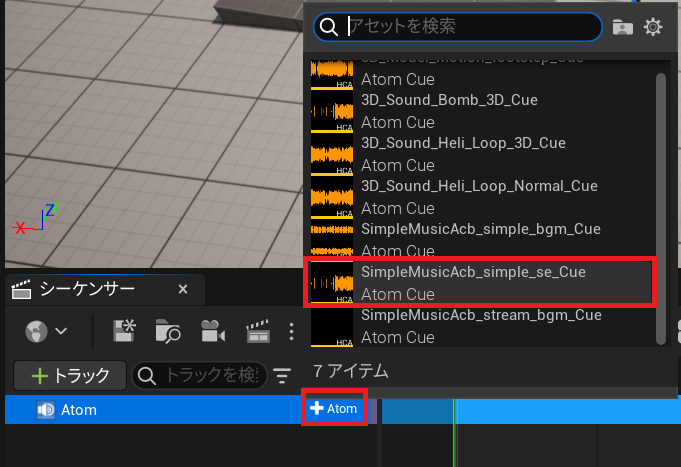
シーケンサー上にキューが配置されました。
発音タイミングの制御
トラックに配置された音声データを左右に移動することで、再生開始のタイミングを変更可能です。

停止タイミングの制御
音声データの長さを縮めることで、停止タイミングを早めることも可能です。
ボリューム/ピッチの変更
トラックを展開し、 [Volume] と [Pitch Multiplier] のパラメータを設定することで、ボリュームやピッチを時間と共に変化させることも可能です。
また、ボリュームやピッチが時間と共に変化するときの緩急を調整することができます。
例えばピッチ変化の緩急を調整する場合、「Pitch」を選択した状態で「カーブエディタにアニメーションキーを表示」をクリックします。

ポイント(下図の白いひし形)をクリックしてください。
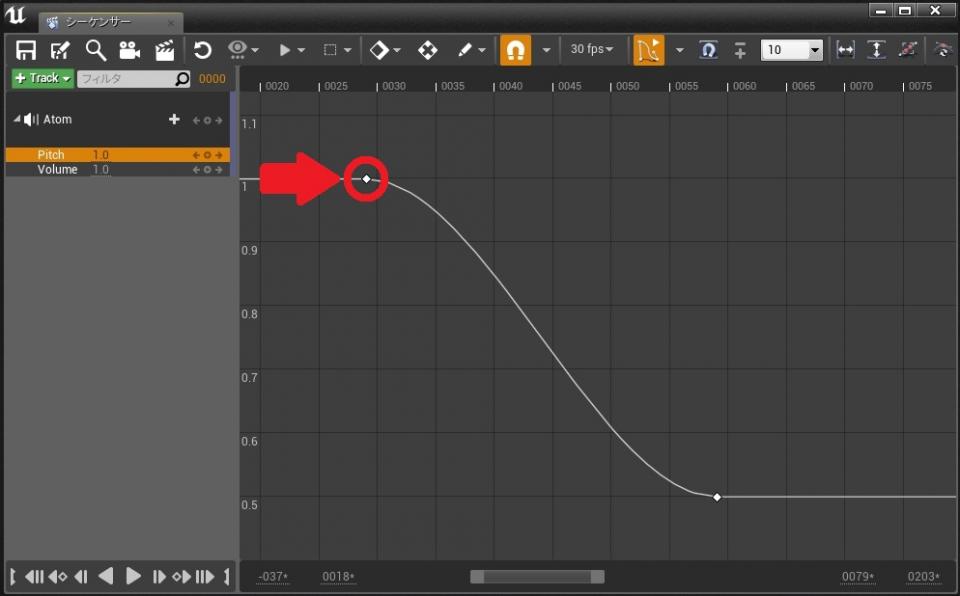
するとそのポイントが選択状態になり、緩急を調整することができるようになります。
Tips
ピッチが上がらない!なぜ?
- 初期設定では48kHzまでしかピッチが上がりません。
- 48kHzを超えてピッチを上げたい場合は設定を変更する必要があります。
- 詳しくはマニュアルの「ピッチが上がらない場合の対処法」をご覧ください。