CRI Sofdec(Unreal Engine) v1
入門編06 字幕付きムービーの再生方法
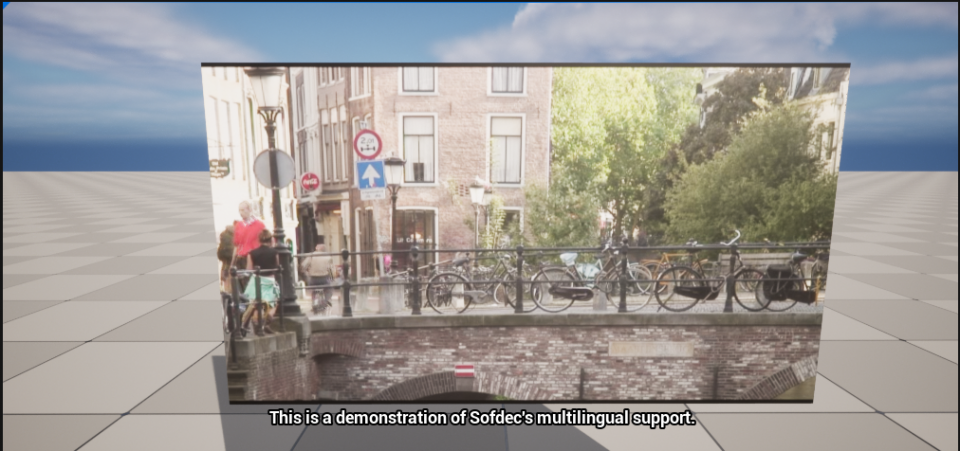
この章では、字幕付きのSofdecムービーを再生する方法を学びます。
字幕付きムービーの再生
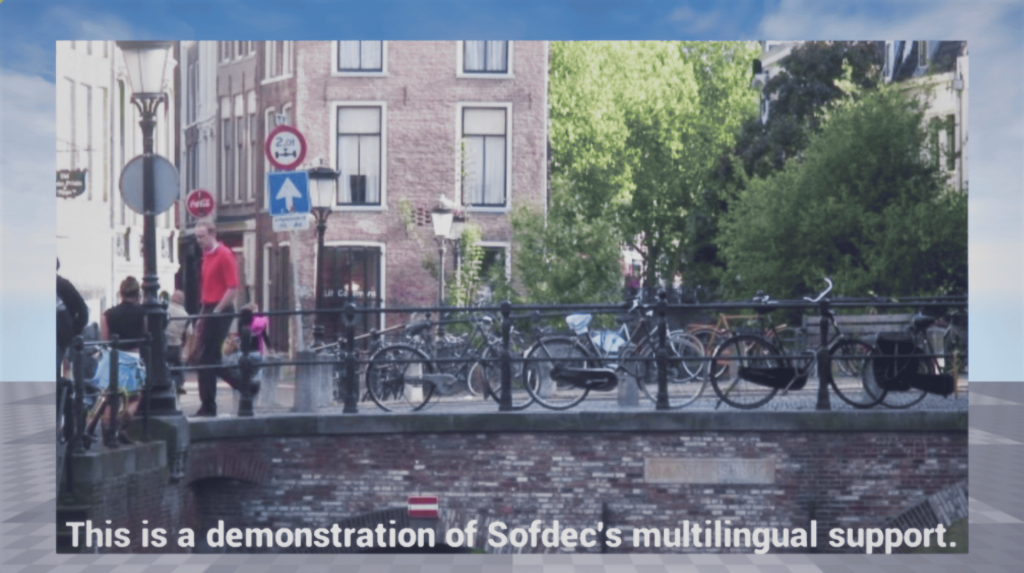
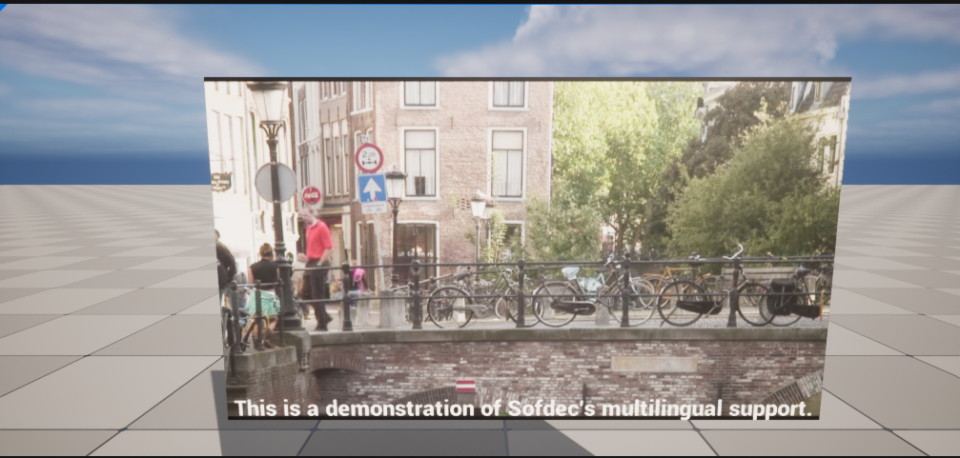
下図のように、レベル内のオブジェクトにムービーを貼り付けて再生することが可能です。
具体的な手順は以下のとおりです。
1.Sofdecムービーをインポートして、Manaアセットを準備
「入門編01 Sofdec ムービーの単純再生」の手順に従って、字幕付き用のムービーをUE5にインポートしてください。
2.レベル内の平面にムービーを貼り付けて、再生する
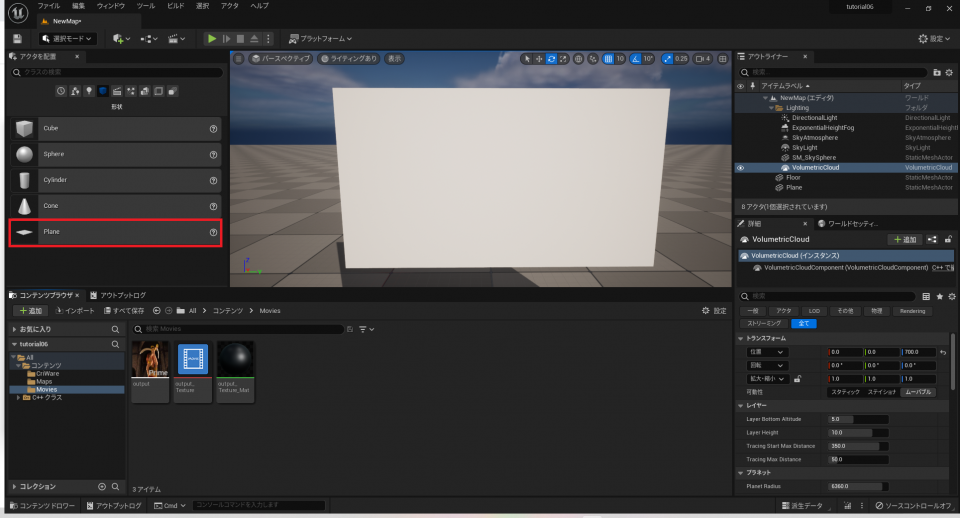
ManaTextureを保持するためのStaticMeshを作成します。今回の例では平面を使います。
16:9の比率で目に見える位置に設定します。
- 位置:(100.0, 0.0, 110.0)
- 回転:(90.0, 0.0, 90.0)
- 拡大・縮小:(1.777, 1.0, 1.0)
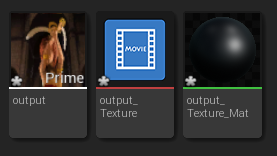
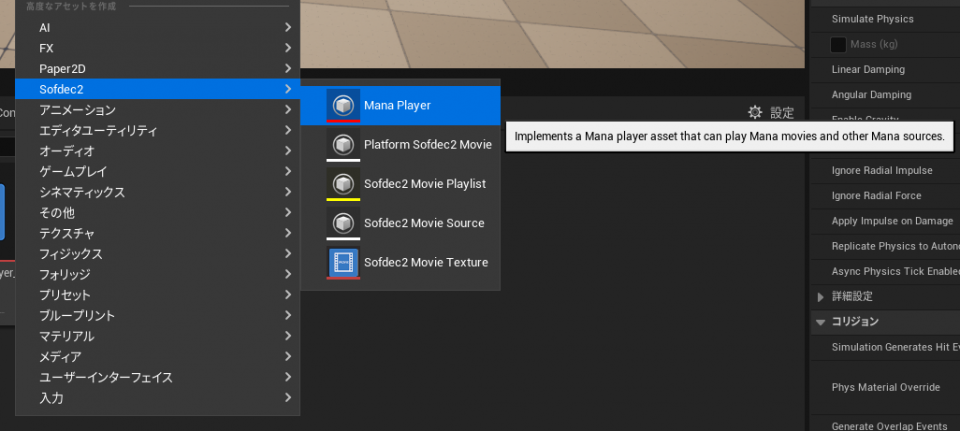
コンテンツブラウザを右クリックして「Sofdec」-> 「Mana Player」を選択します。
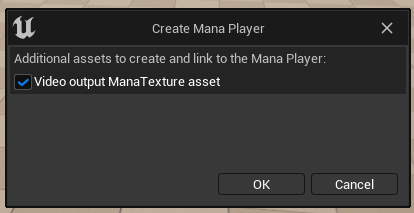
「Video output ManaTexture asset」にチェックを入れて「OK」をクリックします。
これによって「Mana Texture」も同時に作成されます。
作成したMana Playerの詳細画面を開き、以下の3項目を設定します。
- 「Play on Open」にチェックを入れる。
- 「Mana Texture」に先ほどMana Player作成時に同時作成したMana Textureを選択する。
- 「Mana Movie」に字幕付き用のムービーを選択する。
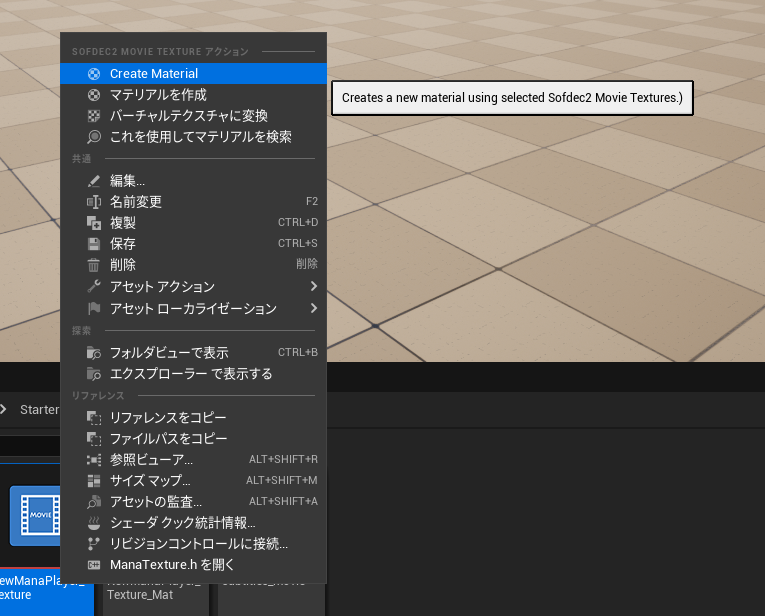
コンテンツブラウザのMana Textureを右クリックしてCreate Materialを選択し、マテリアルを作成します。
レベルに配置したPlaneの詳細から、マテリアルを先ほど作成したマテリアルに設定します。
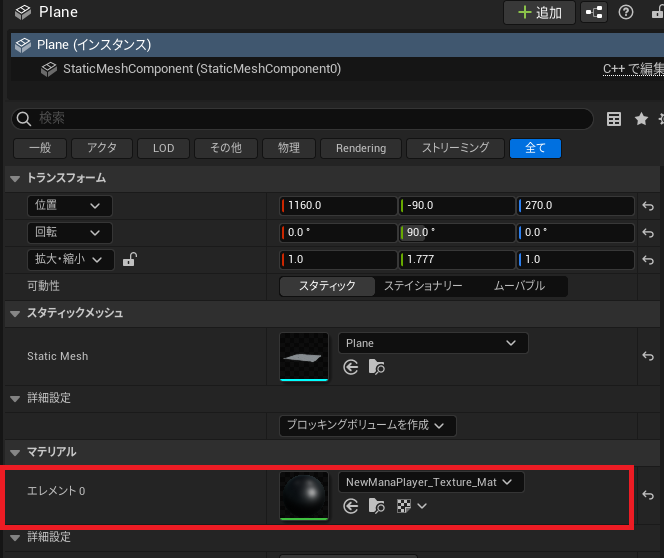
以上の操作で平面上でムービーが再生されるようになります。
3.ムービー再生に字幕を追加
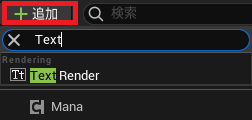
「コンポーネントを追加」ドロップダウンリストから、「TextRender」を選びます。
ビューポートでプレーン上で見える位置にTextRenderを配置します。
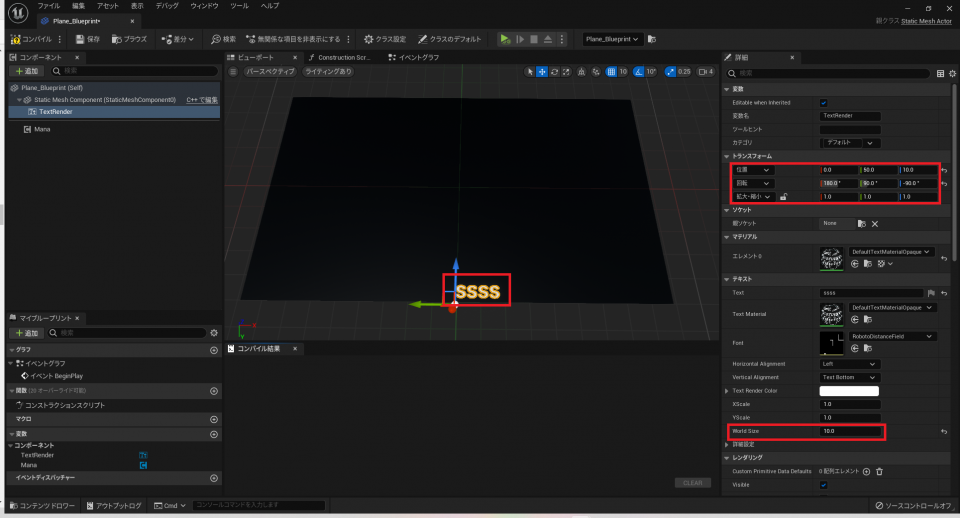
コンポーネントリストでManaを選びます。

字幕付きのムービー再生をするために、Manaの詳細パネルの「Subtitle」セクションを編集します。
- 「Subtitles Enable」をオンにして字幕を有効化します。
- 「Subtitles Channel」を設定します。
- 字幕チャンネルに使用した文字列エンコーディング「Subtitles Encoding」を選択します。(デフォルトはutf-8です。)

"OnSubtitlesChanged"イベントを登録してください。
イベントがトリガーされたら、新しい字幕を取得し、TextRenderで表示するテキストを変更します。
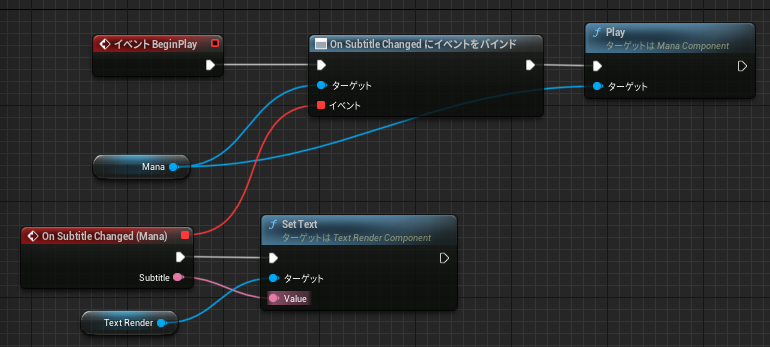
こちらからブループリントコードをコピーできます:https://blueprintue.com/blueprint/wp821pfq/
ムービーの字幕をゲーム画面上に表示する
1.シーンに新しいUserWidgetブループリントを追加
コンテンツブラウザで新しいブループリントクラスを作成します。
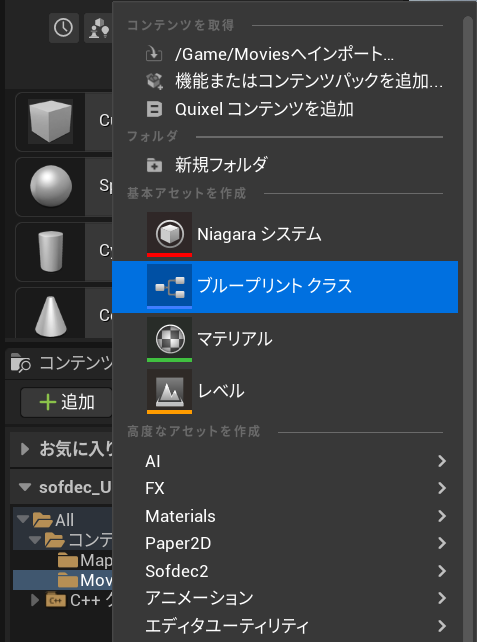
"全クラス"を展開して、 "Visual/Widget/UserWidget"を選択します。
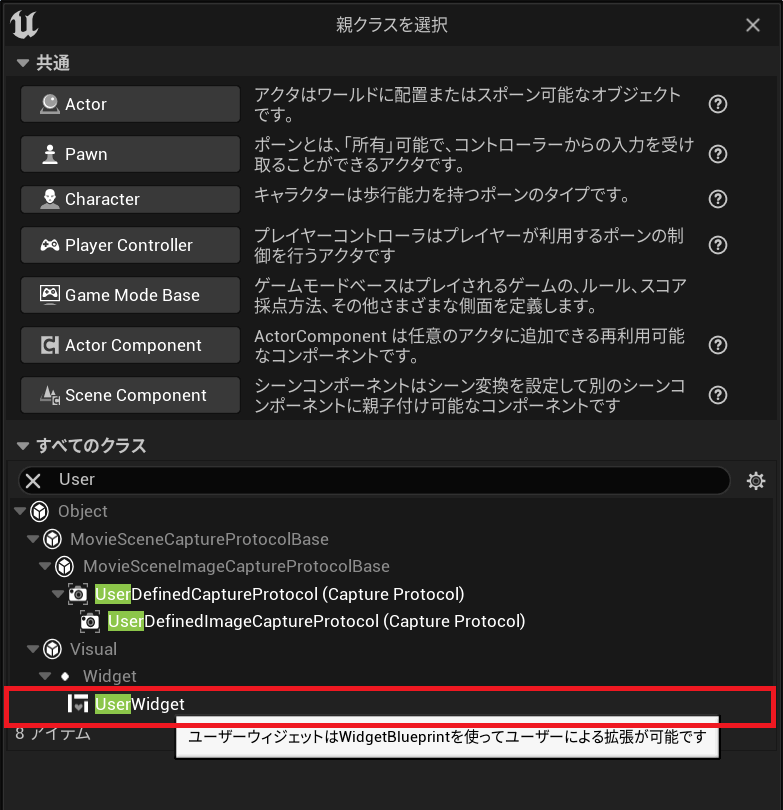
新しいアセットの名前を "SubtitleWidget"に変更します。
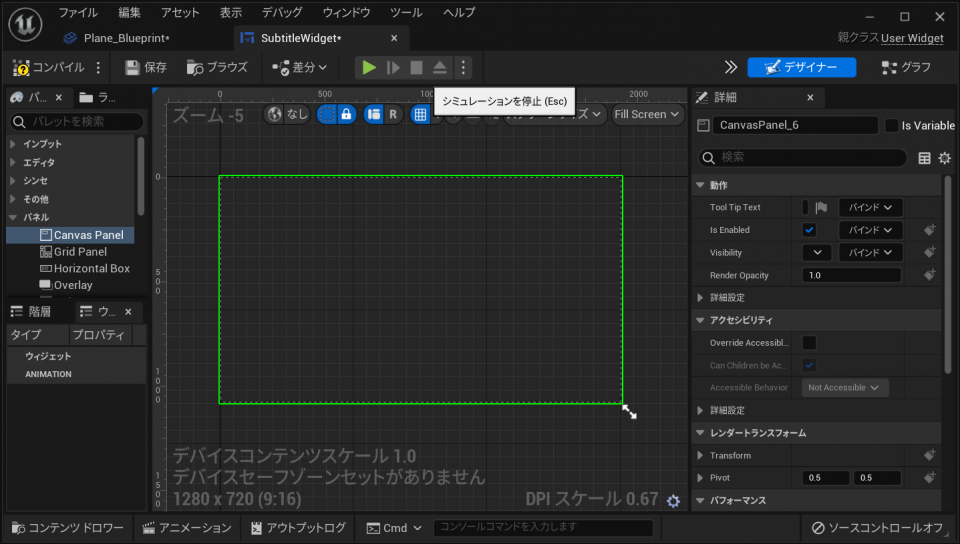
2.ウィジェットのデザイナーでテキストブロックウィジェットを追加
デザイナーで「パネル」の「Canvas Panel」を追加します。
「一般」の「Text」を追加します。
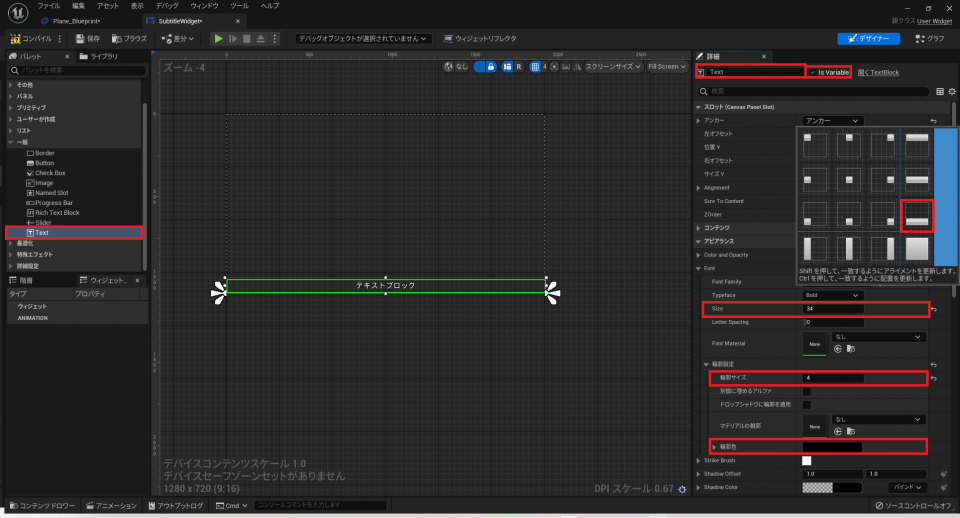
テキストブロックをキャンバスに入れて、サイズを調整します。
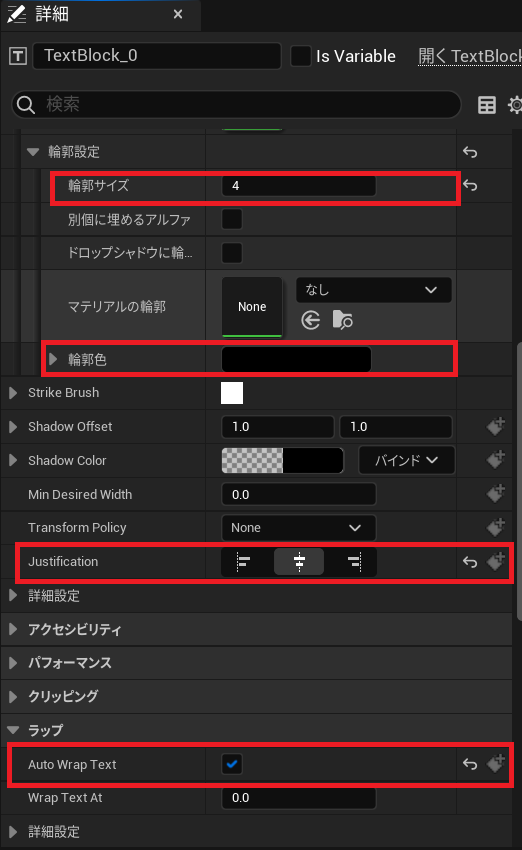
黒のアウトラインで正式な字幕を表示するには、テキストブロックの詳細で、アンカー、フォントのサイズ、「Outline Settings」(サイズ、色など)のようないくつかのパラメータを調整します。
字幕を複数行に表示するには、「Auto Wrap Text」を有効にします。
また、テキストウィジェットを変数「Is Variable」に設定して、他のブループリントにアクセスできるようにします。
3.ブループリントを更新
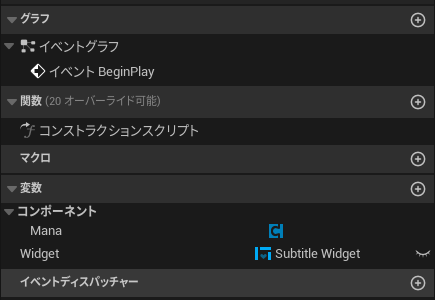
1つの変数を追加します。
Widget (SubtitleWidget オブジェクト参照) : 画面でテキストを見せるためのウィジェットを所有します。
前のセッションで作成したブループリントで、ウィジェットのテキストブロックに字幕テキストを送信するようにブループリントを変更します。
こちらからブループリントコードをコピーできます:https://blueprintue.com/blueprint/tsyxnafa/
「入門編05 Full Screen再生とUIでのムービー再生の方法」と組み合わせることで、UIで字幕付きのフルスクリーンムービーを再生することができます。
Unreal Engine マニュアル参照
アクターコンポーネントとUMGの詳細については、Unreal Engineのドキュメントを参照してください。
Actor Component http://api.unrealengine.com/JPN/Programming/UnrealArchitecture/Actors/Components/
UMG http://api.unrealengine.com/JPN/Engine/UMG/
TextRender (API) https://api.unrealengine.com/INT/BlueprintAPI/Rendering/Components/TextRender/index.html